
Shading in tattoos
Feathering and thinning ink. It is difficult to find a definite answer on what to do, each artist has his own patents and even his own mixtures of dyes. To get a good understanding of the shading process in a tattoo, several concepts had to be introduced, such as the type of shading and the level of ink dilution.
Shading types
classic
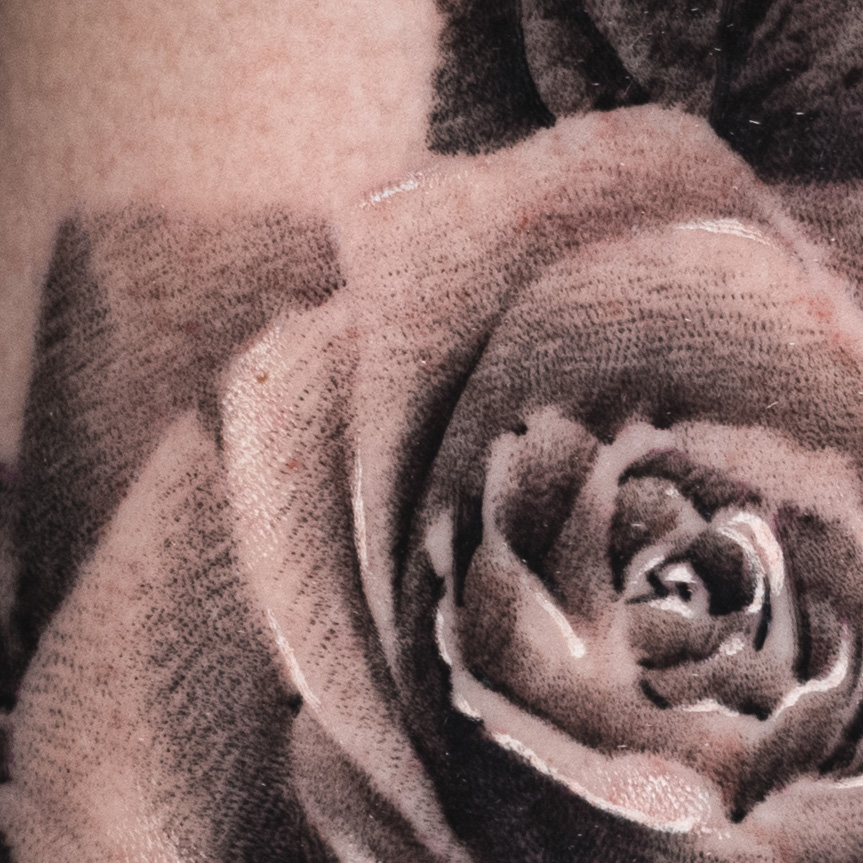
A method where we use magnum or soft-edged needles. It consists in applying the smoothest shade possible. The most common method used for realistic or derivative works.
A machine: in this case, we set the voltage a little higher so that the needle makes as many pricks as possible so that no point is visible. As for the softness of the machine, this is a matter of preference, artists with a trained hand will choose machines with a direct drive (for example, Flatboy), that is, with a direct transfer of movement from the eccentric, and less advanced ones will of course be easier with an automatic machine with adjustable softness of beating (for example, Dragonfly) ...
Bounce: universal, such as 3-3,6 mm, or short, such as 2-3 mm.
Needle:
needles with a thinner thickness of 0,25-0,3 with a long blade, i.e. LT or XLT.
WHIP shading
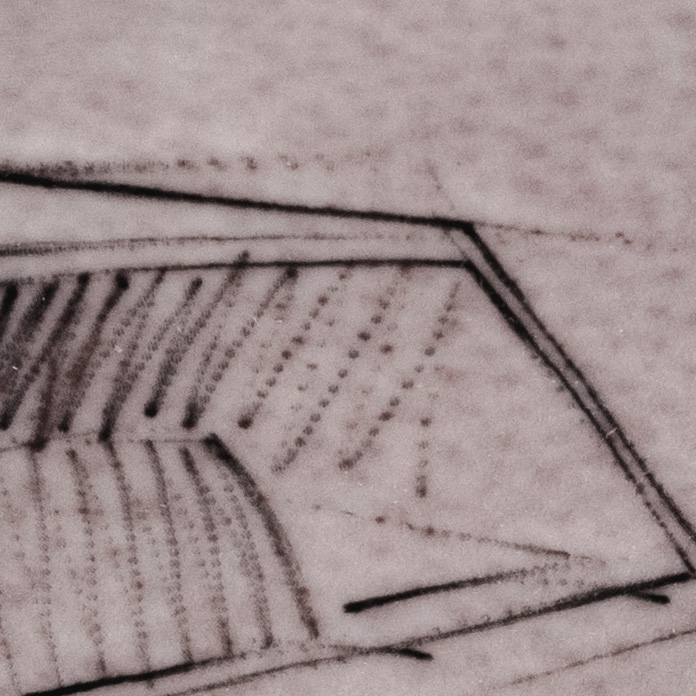
For this method, both flat needles and liners can be used. It consists of hatching, which shows the movement of the needle. For example, if we shade with a flat needle, this method leaves small transverse lines that arise from the fact that the needle jumps as it moves. If, on the other hand, we choose a liner needle, every movement of the needle will leave us a line made of dots.
A machine: More like Direct-Drive or slider with powerful 6,5-10W motor
Bounce: universal such as 3-3,6mm or long 3,6-4,5mm
Needle: needles 0,35 with medium or long point MT or LT
DOTWORK
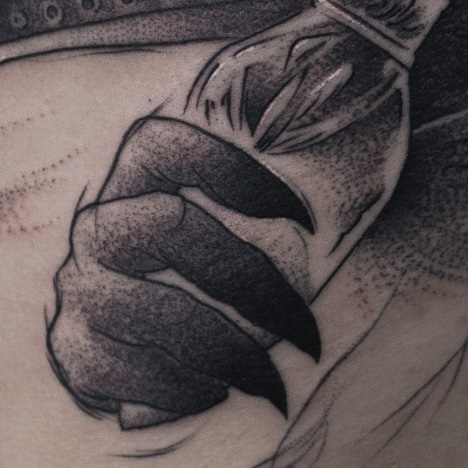
As the name suggests, this is working with points. We can do this in two ways: the first is inserting a single needle, point by point (this method can also be used without a razor, such as Handpoke) or by performing quick movements with a slow machine (such a movement will make it easier to fill large spaces with evenly saturated Unfortunately, this method requires a machine with a fairly powerful motor and power supply that provides the correct current, and with power supplies below 3 amps, it can be difficult to achieve stable operation at low voltage levels.)
A machine: More like Direct-Drive or slider with powerful 6,5-10W motor
Bounce: universal such as 3-3,6mm or long 3,6-4,5mm
Needle: Long pointed 0,35 needles, i.e. LT or XLT.
Everything you read above is only a guideline, you can try blending with other needles / machines if you want a different effect.
Thinning ink.
Many shades can be done without thinning the mascara. Working with less pigmented inks helps to achieve a smoother transition and eliminate the whipping effect if we don't need it.
Ready-made sets
There are many ready-made solutions on the market. You can buy sets from 3 to 10 inks from us. Described as Light Medium (Medium) Dark or by their percentage dilution (e.g. 20%) relative to full ink (black).
This is not a bad solution. Every time we have the same apartment, regardless of the difference in proportions, if we prepared it ourselves.
Individual kits
Thanks to this method, we have a full range of possibilities. We decide what brand of mascara we will dilute and what to dilute. There are various ready-made dilutions available on the market (e.g. mixing solution), or we can use basic materials such as demineralized water, saline or witch hazel *. When serving, products can be mixed with each other in different proportions (for example, 50% witch hazel water, 20% glycerin, 30% salt).
* witch hazel water - relieves skin irritation (redness and swelling), additionally has antibacterial properties, it contains some "solvents" for tattooing. Very important information, such products should be stored in the refrigerator, away from sunlight. If you leave such a drug on the counter in the studio, especially in summer, after a week or two, “buttocks” will start to appear in it, we can no longer use such a drug!
When preparing our own kit, we can prepare both a diluent and our own ready-made kit.
If we have a thinner, we can take, for example, 3 glasses and add a little ink to each. (eg 1 drop, 3 drops, half a glass) Then mix the ink (you can use the cheapest sterile tattoo needle for mixing. Open it and dip the “eyelet” into the cup by turning the needle between your fingers (we do this with gloves)
The second way is to buy, for example, 3 bottles (for example, empty ink - 5 zlotys at Allegro).
we disinfect them, buy 3 balls *, ceramic or stainless steel (we sterilize them, for example, from a friend, if we do not have a sterilization device). We measure out the required amount of ink from a cup (for example, 10% of a new bottle) and fill it with the diluent we like best.
* The spheres are necessary for the ink to disperse well in the bottle. Without a stirrer, the pigment will settle to the bottom, and the concentration of ink in our solution will change!
Best regards,
Mateusz "LoonyGerard" Kelczynski
Leave a Reply